Mac Mail Settings - Sierra/High Sierra
Follow the instructions below to set up your email account in Mac Mail. Please note, these instructions are specific to Mail under MacOS Sierra. If you are using a different MacOS version, the windows and menus may differ.
- Open the Mail application. Select the Mail icon from the Mac Dock to open.
- From the top menu bar, select Mail > Preferences
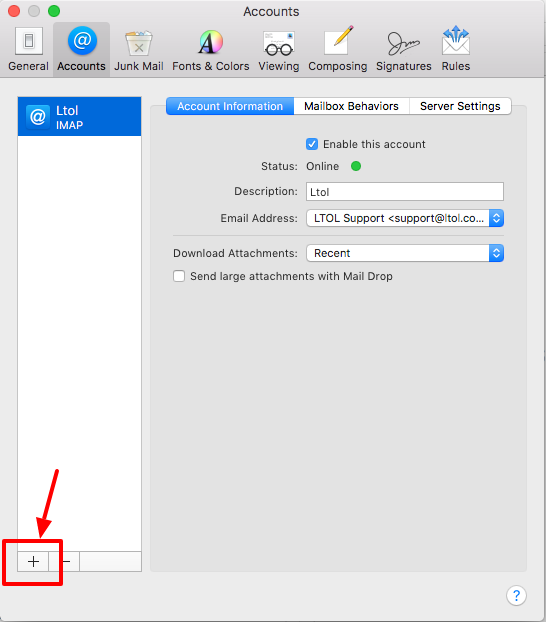
- A new window will appear with the "Accounts" tab selected. Click the + button on the bottom left corner of the window.
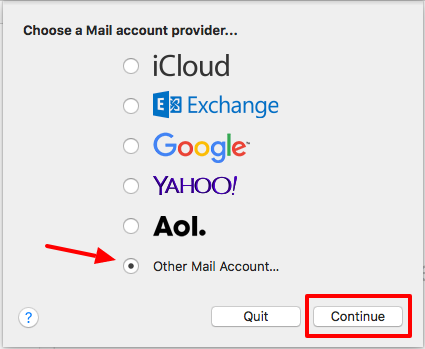
- Select "Other Mail Account" and click Continue
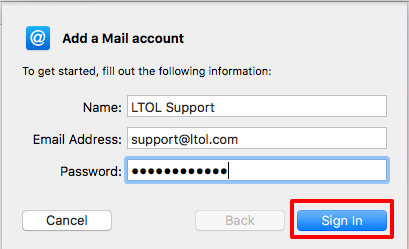
- Type in your Name, Email Address, and Email Address Password. Click "Sign In".
- On the next screen, you may see a red error message, "Unable to verify account name or password". This is normal.
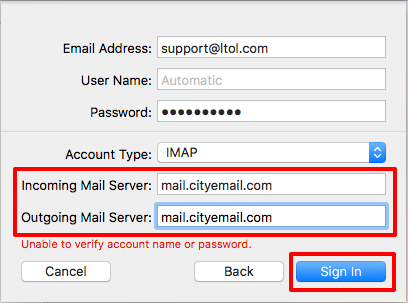
- For Account Type, make sure IMAP is selected.
- For Incoming Mail Server, enter: mail.cityemail.com
For Outgoing Mail Server, enter: mail.cityemail.com - Click the "Sign In" button to continue
- On the next window, leave everything as-is. Click the "Done" button.
- Select the new account you just added. Click the "Server Settings" button on the left.
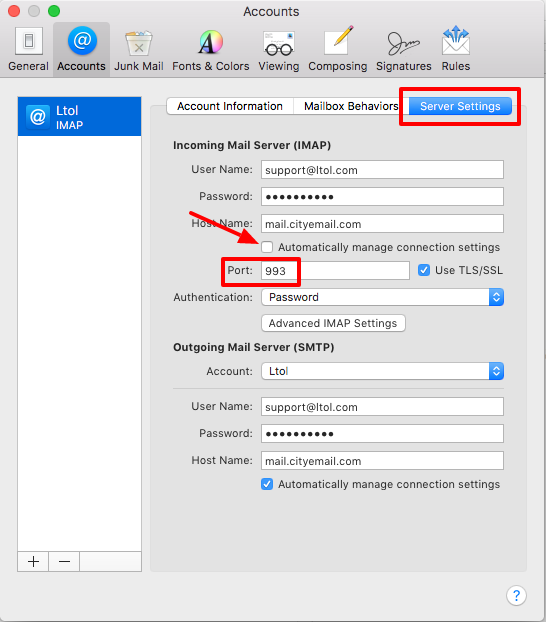
- Under "Incoming Mail Server (IMAP)", uncheck the option, "Automatically manage connection settings"
- Change the port number to 993 and click "Save" at the bottom
- Close the Account window to return to the main Mail window
Your email account setup is now complete.
©2021 Lake Tahoe Online | Terms & Conditions | Acceptable Use Policy